


Oil Pastels: Beginner Tips

Blending Colours
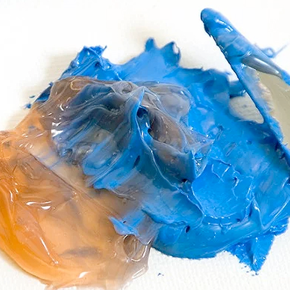
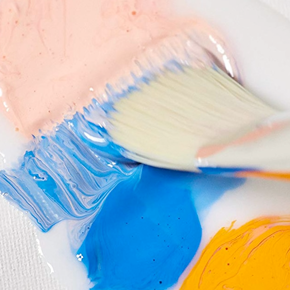
Blending colours with oil pastels is a magical experience that transforms a simple drawing into a vibrant masterpiece. By understanding a few key techniques, anyone can create smooth transitions and captivating colour combinations. To begin with, it's important to choose high-quality oil pastels, as their rich pigmentation and smooth texture make blending a breeze.
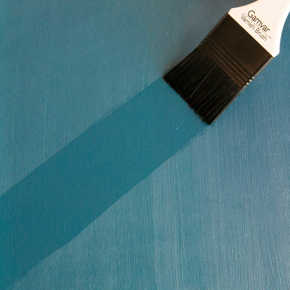
One effective method for blending is the layering technique. Start by applying a base colour to the paper, then add another shade on top. Use gentle, circular motions to blend the colours together, creating a seamless gradient. For an even smoother effect, try using a blending tool or a piece of soft cloth. These tools can help refine the blended areas and produce a more polished look.
Another popular technique is the blending stick method. By using a colourless blender or even a cotton swab, artists can mix colours directly on the paper. This approach allows for precise control over the intensity and smoothness of the blend. For those who prefer a hands-on approach, fingers can also be used to blend oil pastels. The warmth from the skin helps to soften the pastels, making it easier to mix and blend hues to perfection.
Experimenting with pressure levels can also yield stunning results. Applying light pressure will produce a soft and subtle blend, while heavier pressure can create bolder, more vibrant transitions. Combining these variations within a single piece adds depth and dimension, bringing the artwork to life.
Additionally, blending colours can be an opportunity to explore colour theory. Try blending complementary colours to see how they interact, or combine analogous colours for harmonious effects. By understanding how colours influence one another, the creative possibilities become limitless.
Overall, mastering the art of blending colours with oil pastels opens up a world of artistic expression. With a friendly attitude and a willingness to experiment, anyone can achieve impressive results and take their artwork to new heights.
Layering and Texturing
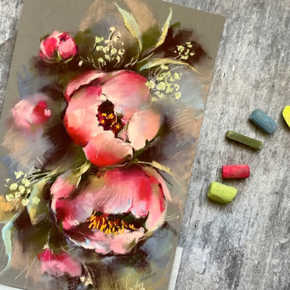
Layering and texturing with oil pastels are essential techniques that can elevate a piece from flat and ordinary to rich and intriguing. Skilled application of these methods can add depth, dimension, and a tactile quality to artwork, making it visually arresting and unique.
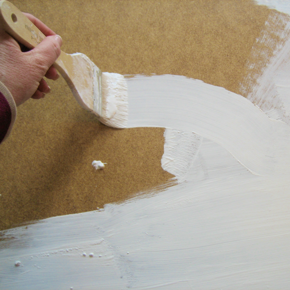
Layering is a technique where multiple layers of colour are applied to achieve richness and depth. Beginners can start by laying down broad areas of colour as a base. Successive layers can then be added, each contributing to the final tone and complexity of the artwork. Lightly stroking the pastels for the top layers allows the bottom colours to peek through, creating a dynamic and textured effect. When layering, always remember that patience is key. Allow each layer to set before adding the next to avoid muddiness and ensure clarity in colours.
Building texture with oil pastels is another delightful way to enhance artwork. One simple method is to use the tip of the pastel to draw fine lines or dots over a base layer. Cross-hatching and stippling are effective techniques for adding intricate textures and patterns. These can emphasize certain areas of the composition, guiding the viewer's eye and adding interest.
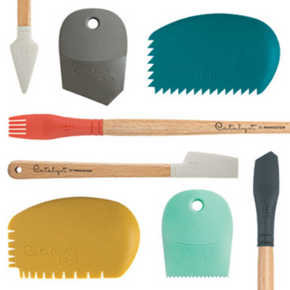
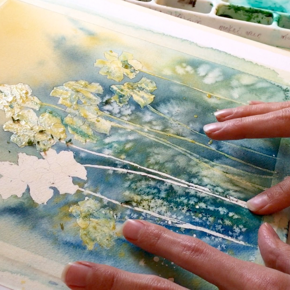
Tools like palette knives, combs, or even everyday items such as a plastic fork or a toothbrush can be employed to create diverse textures. Scraping back through the top layer of pastel to reveal the layers underneath adds a whole new dimension to the piece. This technique, known as "sgraffito," encourages playful experimentation and can yield delightful surprises.
Different pressures can also be utilized to create textural contrasts. Applying oil pastels with a heavy hand can produce thick, bold textures, while lighter strokes can result in soft and delicate lines. Mixing these techniques within one artwork can create captivating contrasts that capture attention.
In addition, using a fixative spray between layers can help set the pastels and prevent them from smudging. This makes it easier to build up more layers and textures without disturbing the existing ones, ensuring the artwork remains crisp and vibrant.
By mastering layering and texturing with oil pastels, artists can bring incredible depth and interest to their work. These techniques encourage creativity and exploration, allowing each piece to become a unique expression of the artist's vision. With practice and a spirit of adventure, anyone can harness the versatility of oil pastels to create truly extraordinary pieces.
Common Mistakes to Avoid
While working with oil pastels can be immensely rewarding, beginners may encounter some common pitfalls. By being aware of these, artists can steer clear of frustrations and achieve smoother progress on their artistic journey.
One frequent mistake is using low-quality materials. High-quality oil pastels boast strong pigmentation and smoother applications, making a noticeable difference in the outcome. Investing in good pastels, paper, and tools can pave the way for more successful and enjoyable artwork.
Another common error is applying too many layers too quickly. This can result in a muddied appearance, where colours blend together uncontrollably, losing their distinctiveness. Artists should practice giving each layer ample time to set before adding more. Patience in this aspect leads to crisper, more vivid hues and better control over the desired effects.
Over-blending is also a trap that learners might fall into. While blending is a powerful technique, excessive blending can homogenize colours and texture, resulting in a flat, lifeless piece. Maintaining a balance between blended areas and more defined strokes ensures the artwork retains lively dynamics and interest.
Neglecting to clean tools and fingers during the process can introduce unwanted colours and smudging. Regular cleaning prevents contamination and unintended mixing, maintaining the purity and integrity of colours. Artists should get into the habit of wiping down blending tools and washing their hands as needed.
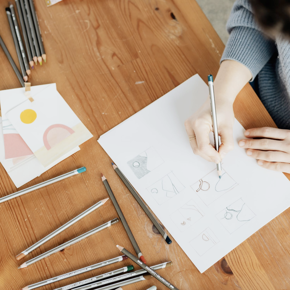
Additionally, ignoring the importance of composition can detract from the overall impact of a piece. Thoughtful planning of how colours and textures interact within the space can turn a simple drawing into a powerful visual statement. Beginners should take the time to sketch out ideas and consider the placement and interaction of elements before diving into the pastels.
Finally, underestimating the value of experimentation can stifle artistic growth. Creativity often blossoms through trial, error, and unexpected discoveries. Beginners should embrace a mindset of playfulness and curiosity, trying out new techniques and learning from each attempt. This willingness to explore can lead to unique styles and remarkable advancements in skill.
By being mindful of these common mistakes and adopting positive habits, artists can enhance their experience with oil pastels. Each stroke, blend, and layer becomes a step toward mastery, allowing the vibrant potential of this medium to shine through.
Cleaning Tips
Maintaining cleanliness with oil pastels can significantly enhance the drawing experience and prolong the life of both the materials and the artwork. Here are some practical tips to keep everything in top shape:
1. Cleaning Oil Pastels:
Oil pastels can accumulate dirt, dust, and residues from other colours, affecting their performance. To clean them, simply wipe the pastel sticks with a soft, dry cloth or tissue paper. For stubborn marks, gently rubbing the pastel on a piece of scrap paper can help clear away any lingering debris.
2. Keeping Hands Clean:
Frequent handwashing or wiping hands with a damp cloth during the drawing process can help avoid smudging and unintended transfer of colours onto the artwork. Wearing gloves is also an option for those who prefer to keep their hands completely clean.
3. Work Area Maintenance:
A clean work environment fosters creativity and ensures the longevity of art supplies. Place a protective cover, such as newspaper or a drawing board, over the workstation. This not only protects the surface from stains but also provides a clutter-free space to create. Regularly dusting and organizing the workspace can minimise disruptions and maintain a productive atmosphere.
4. Storage Solutions:
Proper storage of oil pastels prevents breakage and contamination. Using containers with segmented sections or a dedicated pastel box keeps them organized and separated by colour. Ensure pastels are stored in a cool, dry place to prevent them from softening or melting in warm conditions.
5. Cleaning Tools:
Blending tools, such as blending sticks, cotton swabs, and cloths, should be cleaned regularly to avoid colour mixing. Rubbing alcohol can effectively clean blending sticks, while cotton swabs and cloths can simply be replaced when they become too saturated with colour.
6. Fixing Mistakes:
Mistakes happen, and oil pastels allow for easy corrections. Use a plastic or rubber eraser to gently lift unwanted marks or smudges. For more precise adjustments, a clean, slightly damp cloth can be used to wipe away specific areas without disturbing the surrounding colours.
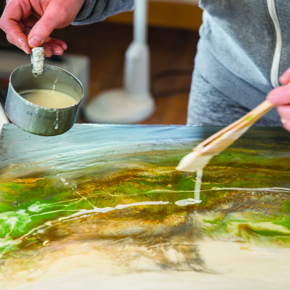
7. Final Fixative Application:
Once the artwork is complete, applying a spray fixative can seal in the pastels and protect the piece from dust and smudging. Always apply fixative in a well-ventilated area and follow the manufacturer’s instructions for best results.
By incorporating these cleaning tips, artists can keep their oil pastels and artwork in pristine condition, ensuring a pleasant and efficient creative process. With a little care and attention, the vibrant world of oil pastels remains an inviting and inspiring medium for all to enjoy.
Essential Materials for Beginners
Starting out with oil pastels is not only exciting but also accessible with the right set of materials. Here’s a handy guide to essential supplies every beginner should consider:
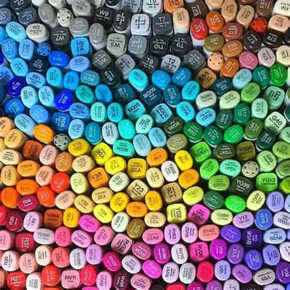
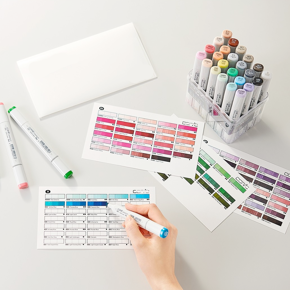
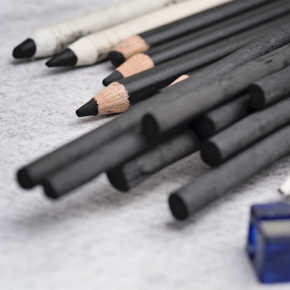
Oil Pastels
High-quality oil pastels are the cornerstone of any artist's toolkit. Brands like Sennelier, Caran d'Ache, and Mont Marte offer excellent pigmentation and smooth application, which facilitate better blending and layering. While these might be more of an investment, their performance is incomparable, providing rich, vibrant outcomes.
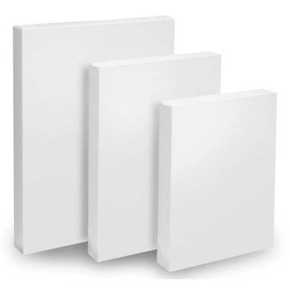
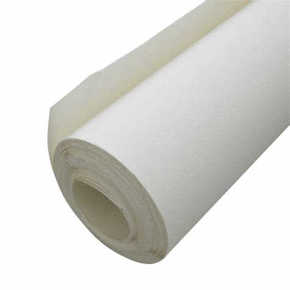
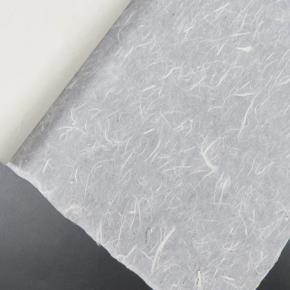
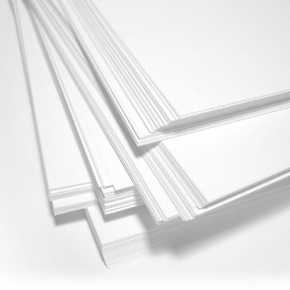
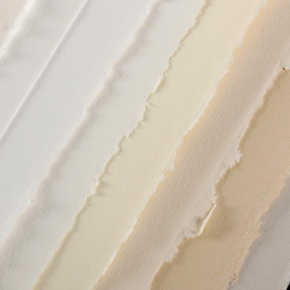
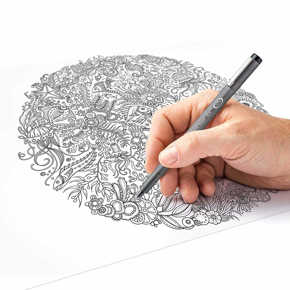
Paper
Choosing the right paper is crucial for oil pastel work. Look for paper specifically designed for pastels, such as sanded or textured papers that can hold the pigments well. Brands like Mont Marte or Canson offer pastel pads that are ideal. Experimenting with different textures will also help in discovering personal preferences and achieving varied effects.
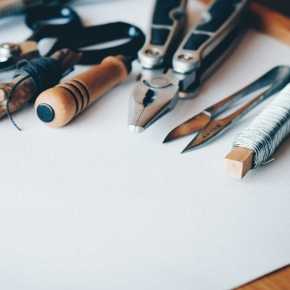
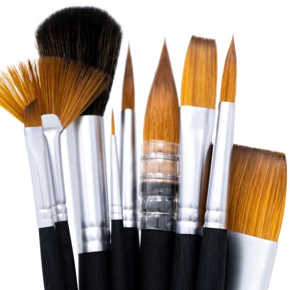
Blending Tools
While fingers are commonly used for blending, having dedicated tools can enhance precision and cleanliness. Blending stumps, tortillons, colourless blenders, and even cotton swabs can be magnificent additions to help achieve smooth transitions and intricate details.
Fixatives
To preserve and protect completed artwork, a fixative spray is essential. Look for a spray specifically made for pastels. Brands like Krylon or SpectraFix offer reliable options. Applying fixative not only helps in sealing the colours but also prevents smudging and dust accumulation.
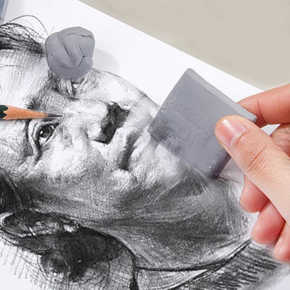
Erasers
Plastic or rubber erasers are handy for correcting mistakes and fine-tuning details. A kneaded eraser is also beneficial as it can be shaped into fine points to lift tiny unwanted marks without affecting the surrounding area.
Storage Solutions
To keep oil pastels in optimal condition, proper storage is necessary. A dedicated pastel box with individual slots for each pastel stick can prevent them from rubbing against each other, thus avoiding breakage and cross-contamination of colours.
Workstation Protection
Having a clean and organised workspace is conducive to creativity. Use a drawing board or cover your work table with protective sheets like newspapers or disposable table covers to safeguard surfaces from pastel residues and stains.
Apron or Gloves
As things can get quite messy with oil pastels, wearing an apron can protect your clothing. Additionally, disposable or reusable gloves can keep your hands clean during the creative process, reducing the need for frequent washing and avoiding unintended smudging on the artwork.
Reference Materials
Having access to books, online tutorials, and guides on oil pastel techniques can be immensely helpful. Resources like these provide inspiration and tips, allowing beginners to learn and refine their skills steadily.
By equipping themselves with these essential materials, beginners can set a solid foundation for their oil pastel journey. Each tool and supply contributes to a smoother, more enjoyable creative process, allowing artists to focus on expressing their unique vision and exploring the boundless possibilities of oil pastels. So gather these materials, prepare your workspace, and dive into the colourful world of oil pastels with confidence. Happy creating!